
Table of Contents
Introduction to Breast Milk Lotion Recipe
If you’re looking for a natural, nourishing way to care for your skin, then a breast milk lotion recipe might just be the solution you need. Breast milk has long been celebrated for its countless health benefits for babies, but it can also work wonders on adult skin. In this article, we will explore the process of creating your very own breast milk lotion recipe, its key ingredients, benefits, and how to use it to improve your skin’s appearance and health.
Breast milk is packed with vitamins, fats, and proteins that provide excellent hydration and skin nourishment. Whether you’re a new mother or simply someone interested in natural skincare, this breast milk lotion recipe is easy to make and highly effective.

As more and more people turn toward organic skincare products, the idea of using breast milk for skin care has gained popularity. The skin is the body’s largest organ and absorbs many substances that come into contact with it. This makes it essential to pay attention to what we use on our skin. With the breast milk lotion recipe, you are ensuring that your skin gets the maximum benefit from the all-natural, chemical-free ingredients.
Why Breast Milk is Beneficial for Skin
Before diving into the breast milk lotion recipe, it’s important to understand why breast milk is so beneficial for the skin. Breast milk contains essential nutrients such as vitamin A, lauric acid, and immunoglobulins, which are all helpful in improving skin texture, reducing inflammation, and promoting healing.
1. Hydration
Breast milk provides deep hydration, leaving the skin soft and moisturized. The natural fats and proteins present in breast milk help lock in moisture, which is especially beneficial for dry or flaky skin.
2. Anti-inflammatory Properties
It helps calm skin irritation and redness. Many individuals struggle with skin conditions such as eczema, psoriasis, or rosacea, and breast milk lotion can provide much-needed relief for these conditions.
3. Healing and Regeneration
Breast milk contains regenerative properties due to its natural components, making it ideal for healing minor cuts, burns, or bruises. The proteins in breast milk, such as lactoferrin, help promote cellular repair and growth, improving the appearance of scar tissue.
4. Antibacterial Properties
The natural antibacterial properties in breast milk can help fight bacteria that cause skin infections. The antimicrobial benefits of breast milk are ideal for those dealing with acne, rashes, or other bacterial-related skin conditions.
5. Rich in Nutrients
Breast milk is a powerhouse of nutrients, including essential fatty acids and vitamins A, D, and E. These nutrients promote a healthy skin barrier, keeping it soft, smooth, and well-nourished.
Now that you know why breast milk is great for your skin, let’s get into the breast milk lotion recipe.
Ingredients for Breast Milk Lotion
Making your own breast milk lotion recipe is simple and requires just a few key ingredients. These ingredients are easy to find and can be customized to suit your preferences. The ingredients in this recipe will give your skin a soft, moisturized feel and keep it healthy without exposing you to the chemicals found in many store-bought products.

breastmilk lotion recipe
Here’s a simple and effective breastmilk lotion recipe that combines the nourishing benefits of breast milk with natural oils to create a soothing moisturizer. This DIY lotion is perfect for sensitive skin and can help with conditions like eczema, diaper rash, and dry patches.
Ingredients
- ½ cup breast milk (fresh or thawed)
- ¼ cup coconut oil (organic, unrefined)
- 1 tablespoon beeswax pellets (helps with texture)
- 1 teaspoon vitamin E oil (optional, for preservation)
- A few drops of lavender or chamomile essential oil (optional, for fragrance)
Instructions
Step 1: Melt the Beeswax and Coconut Oil
- In a double boiler, melt the beeswax pellets and coconut oil together. Stir occasionally until both ingredients are fully combined and smooth.
Step 2: Cool Slightly & Add Breast Milk
- Remove the mixture from heat and allow it to cool for a minute.
- Slowly add in the breast milk while stirring gently to combine the ingredients.
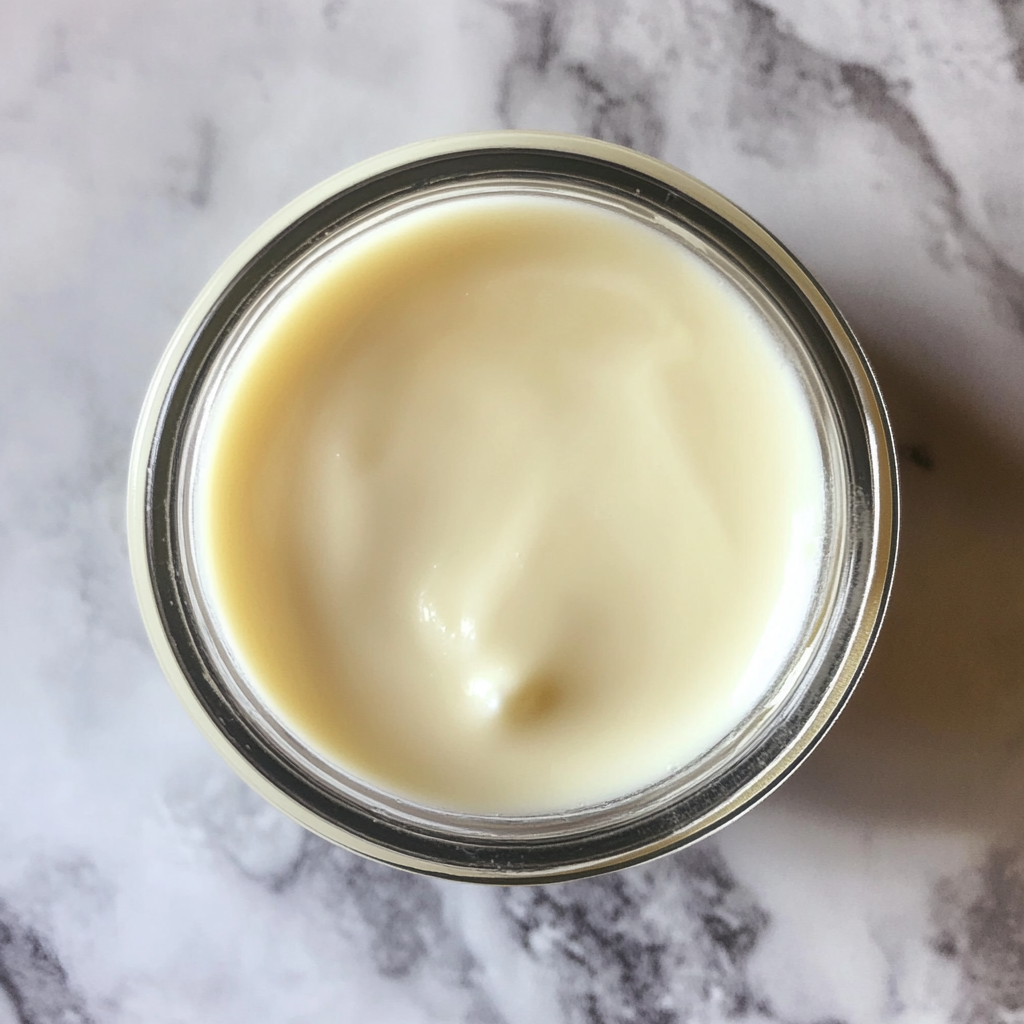
Step 3: Blend to Achieve a Smooth Texture
- Use an immersion blender or hand mixer to blend the lotion until it reaches a creamy, smooth consistency.
Step 4: Add Optional Ingredients
- If desired, stir in vitamin E oil for preservation and essential oils for fragrance.
Step 5: Store the Lotion
- Transfer the lotion into a clean, sterilized glass jar or pump bottle.
- Keep the lotion in the refrigerator for up to 2 weeks.
How to Use
Apply a small amount of lotion to dry or irritated skin. It’s especially beneficial for baby eczema, diaper rash, and dry patches. Make sure to shake the lotion before use, as natural separation can occur.
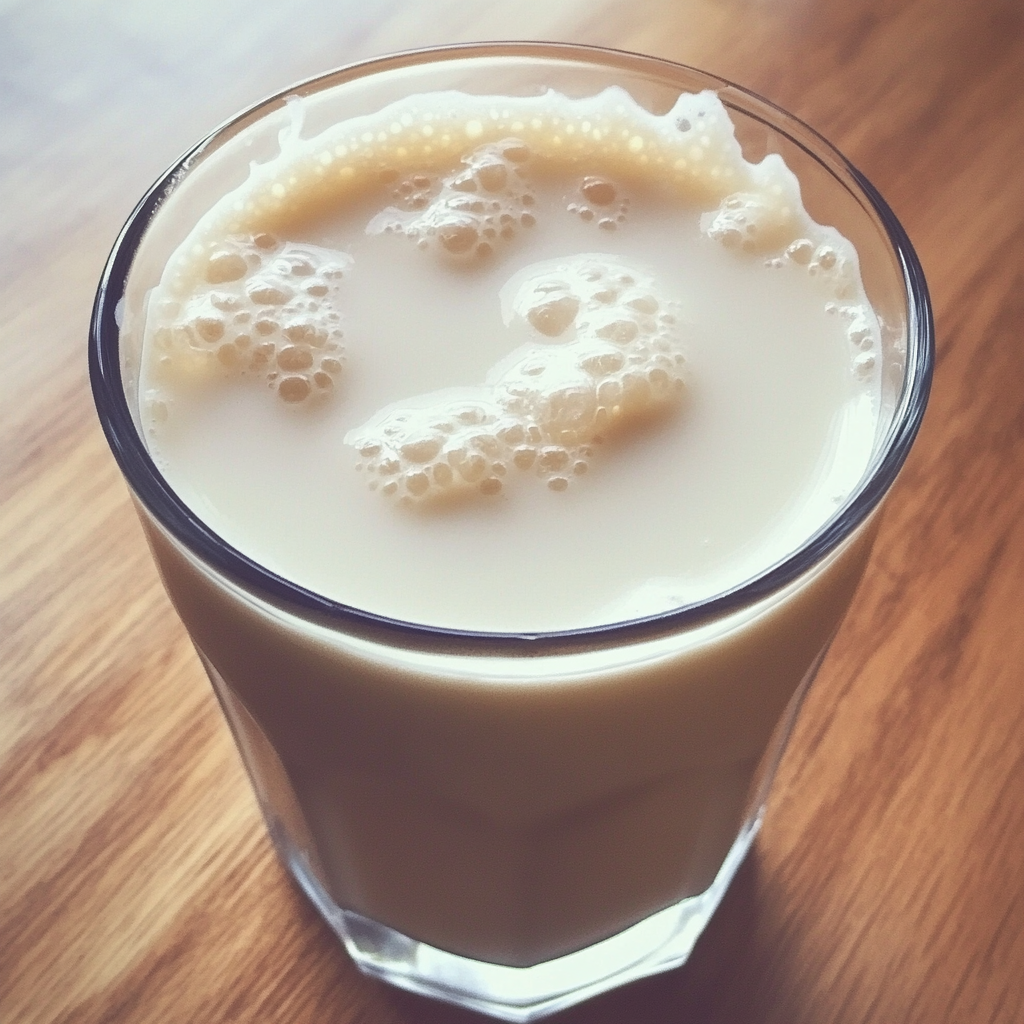
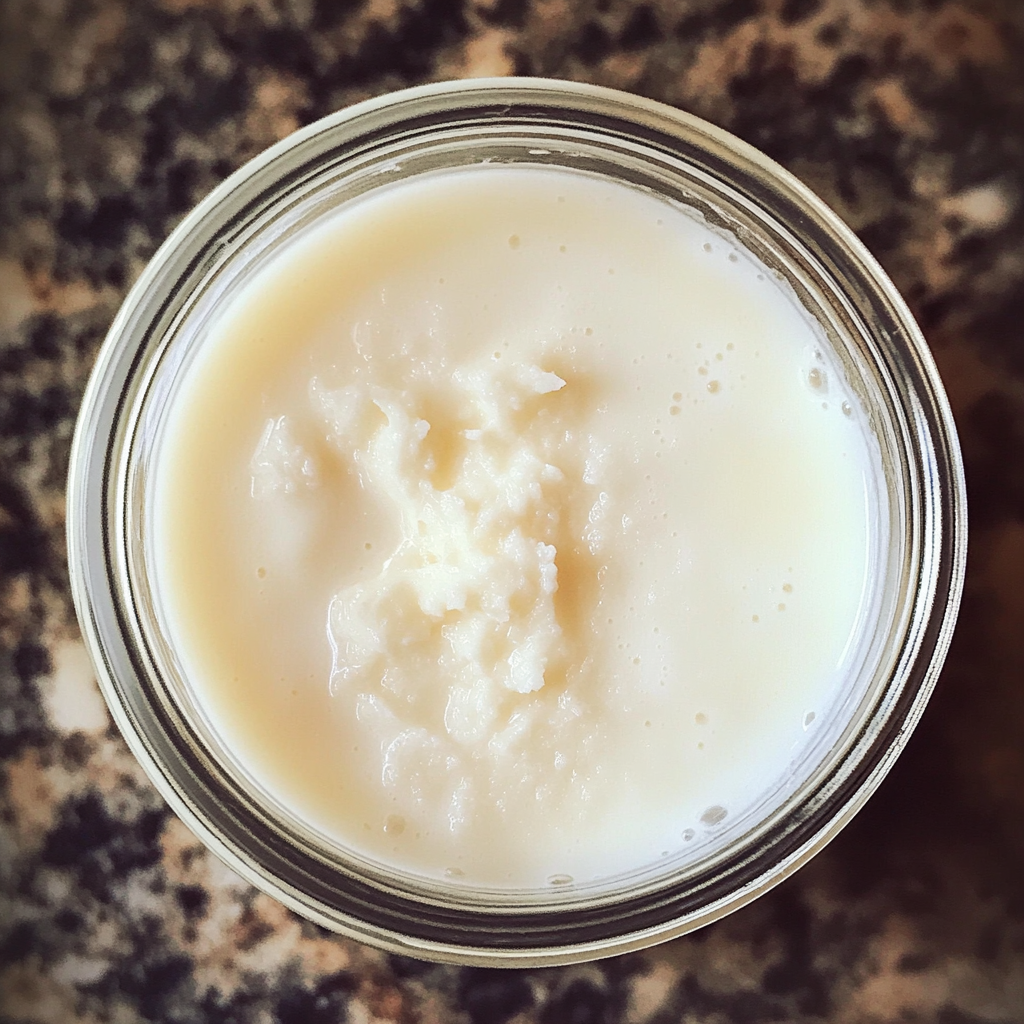
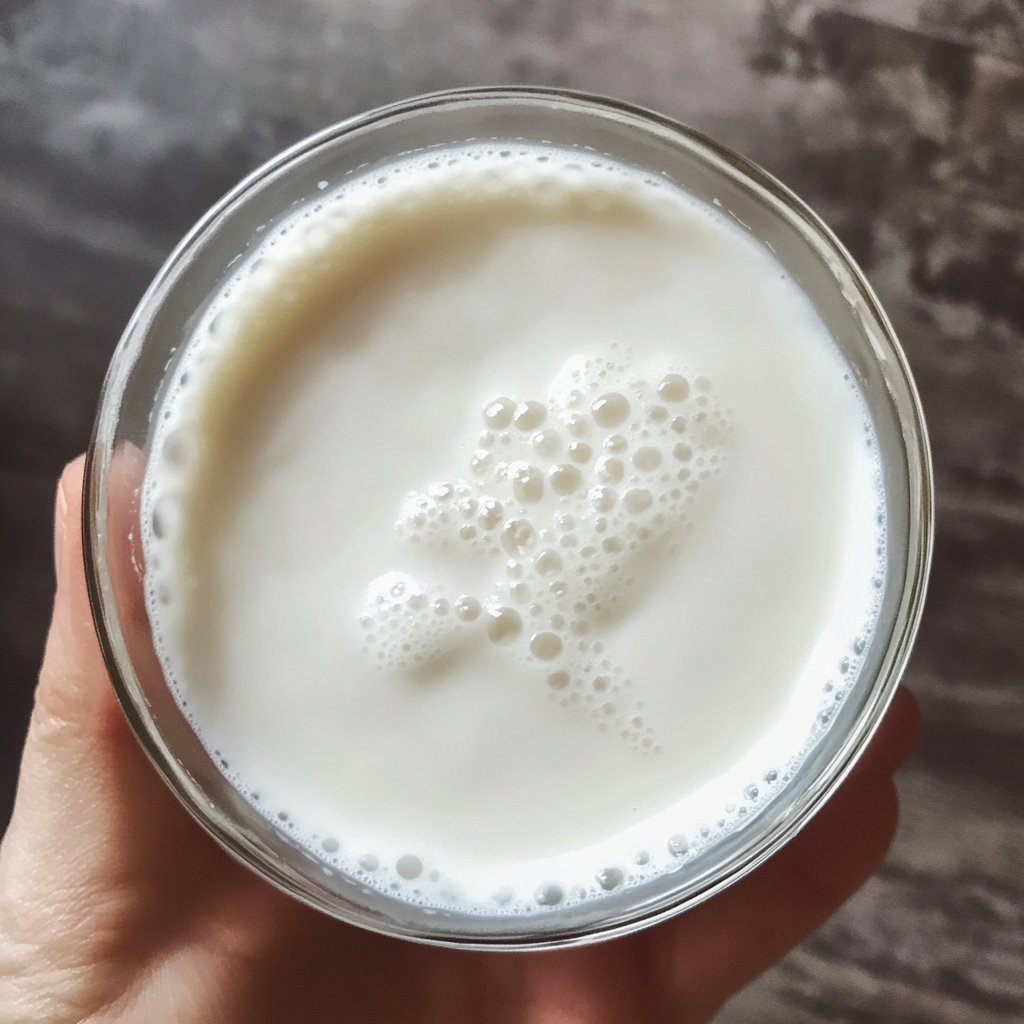
1. Breast Milk
This is the main ingredient, providing all the nourishing benefits. The quality of breast milk you use will directly impact the final product. Use fresh breast milk whenever possible. If you need to use frozen breast milk, thaw it before adding it to your lotion mixture.
2. Coconut Oil
Coconut oil is a fantastic addition to this breast milk lotion recipe due to its ability to hydrate and lock in moisture. It is also known for its antibacterial and antifungal properties, which makes it great for helping keep skin clear and healthy.
3. Shea Butter
Shea butter is a rich, creamy substance known for its ability to deeply hydrate and repair dry skin. It is packed with vitamins A and E, both of which are crucial for skin health. Shea butter also helps to reduce inflammation, making it a soothing ingredient for irritated skin.
4. Beeswax
Beeswax is used to give the lotion a thicker consistency. It is also beneficial because it helps lock in moisture and provides a barrier against environmental toxins. Beeswax is a natural humectant, drawing moisture into the skin and keeping it hydrated for longer.
5. Essential Oils
You can choose to add calming essential oils like lavender, chamomile, or tea tree oil. These oils not only add a pleasant fragrance but also offer additional skin benefits. Lavender and chamomile, for instance, are known for their soothing properties.
6. Vitamin E Oil
Adding a few drops of vitamin E oil to your breast milk lotion recipe can enhance the moisturizing properties. Vitamin E is also a powerful antioxidant that helps protect the skin from environmental damage.
Step-by-Step Guide to Making Breast Milk Lotion
Making breast milk lotion is an easy and rewarding process. Here’s a detailed step-by-step guide on how to create your own soothing lotion at home.
Step 1: Prepare Your Materials
- Gather a double boiler, a mixing bowl, a spoon, and a container for storing the lotion.
- Have all the ingredients ready, including the breast milk. You may need a small measuring cup for the breast milk to ensure the right amount is used.
Step 2: Melt the Base Ingredients
- In the double boiler, combine the beeswax, shea butter, and coconut oil.
- Allow the mixture to melt over low heat. Stir occasionally to prevent burning and ensure everything is fully melted and blended.
Step 3: Mix in the Breast Milk
- Once the base ingredients are fully melted and mixed, remove the bowl from the heat.
- Allow the mixture to cool slightly (but not solidify) before gently incorporating the breast milk. Stir gently to prevent the milk from curdling.
Step 4: Optional: Add Essential Oils
- If desired, add a few drops of your favorite essential oil for fragrance and additional skin benefits. Stir thoroughly to ensure the oil is evenly distributed.
Step 5: Cool and Store
- Let the lotion cool completely before transferring it into a storage jar. Make sure the container is airtight to prevent contamination.
- Store your breast milk lotion in a cool, dry place. For longer shelf life, you can refrigerate the lotion.
With these simple steps, you have a homemade breast milk lotion recipe that will leave your skin feeling smooth and nourished.
How to Use Breast Milk Lotion
Once you’ve made your breast milk lotion, you’ll want to know how to use it effectively. Follow these simple steps to get the most out of your homemade lotion:
1. Cleanse Your Skin
Before applying the lotion, cleanse your skin with a gentle soap or cleanser to remove any dirt, oils, or makeup that may be present. This allows the lotion to penetrate better and provide maximum benefits.
2. Apply the Lotion
Take a small amount of lotion and apply it to dry areas of your skin. Massage gently in circular motions, allowing the lotion to absorb into the skin. You may need to use more lotion for areas with extremely dry skin.
3. Use Consistently
For best results, use the breast milk lotion daily, especially after showering or before bed. Consistent use of this lotion will help your skin maintain its moisture and nourishment.
Benefits of Using Breast Milk Lotion
The breast milk lotion recipe offers a variety of skin benefits. Here’s why you should consider using it regularly:
1. Nourishes Dry Skin
The rich fats and proteins in breast milk hydrate the skin, leaving it soft and smooth. This is especially beneficial during winter months or for those with chronic dry skin.
2. Calms Skin Irritation
If you suffer from conditions like eczema or rosacea, this lotion can provide relief by calming inflammation and reducing redness.
3. Promotes Healing
Breast milk helps promote healing, making it a great option for minor cuts, rashes, and even sunburn. The natural healing properties of breast milk can reduce the appearance of scars.
4. Natural and Chemical-Free
Unlike commercial lotions, this DIY recipe is free of chemicals and preservatives, making it safe for all skin types, including sensitive skin.
Breast Milk Lotion for Specific Skin Conditions
Breast milk lotion can be especially beneficial for specific skin conditions. Let’s take a look at how it can help with common skin issues:
1. Eczema
Breast milk has natural anti-inflammatory properties that help soothe the itchiness and irritation associated with eczema. It also promotes healing, reducing the appearance of eczema flare-ups.
2. Acne
Due to its antibacterial properties, breast milk lotion can help reduce acne breakouts. It can kill acne-causing bacteria and prevent further breakouts, leaving your skin looking clear and smooth.
3. Psoriasis
For those suffering from psoriasis, the moisturizing and healing benefits of breast milk lotion can help ease the dryness, flaking, and redness associated with this condition.
Common Mistakes to Avoid
When making or using breast milk lotion, there are a few common mistakes you should avoid:
1. Not Using Fresh Breast Milk
Always try to use fresh breast milk, as frozen milk may lose some of its beneficial properties during the freezing and thawing process.
2. Using Too Much Essential Oil
While essential oils add fragrance and benefits, using too much can irritate sensitive skin. Stick to just a few drops.
3. Not Storing Properly
Make sure your lotion is stored in an airtight container to prevent contamination and spoilage.
Frequently Asked Questions (FAQ)
1. Can I use frozen breast milk for this recipe?
Yes, you can use frozen breast milk, but fresh milk provides the best results. Ensure that it’s thawed properly before use.
2. How long does the lotion last?
If stored properly, your breast milk lotion can last for up to 2 weeks in the fridge.
3. Is this lotion safe for babies?
While breast milk lotion is generally safe for babies, it is always best to do a patch test first.
4. Can I use this lotion on my face?
Yes, the breast milk lotion is gentle enough for facial use, but if you have sensitive skin, do a patch test before applying it to your face.
5.how to make breast milk lotion with coconut oil
Breast milk is packed with nutrients and antibodies that help soothe and protect the skin. When combined with coconut oil, it creates a gentle, moisturizing lotion perfect for babies and adults alike.
6.how to make lotion with breastmilk
Making lotion with breast milk is a great way to utilize extra milk while providing natural nourishment for the skin. Breast milk contains beneficial properties like antibodies, fatty acids, and vitamins that can help soothe dry skin, eczema, and diaper rash.
DIY Breast Milk Lotion Recipe
Ingredients:
- ½ cup (120ml) breast milk
- ½ cup (120ml) carrier oil (olive oil, coconut oil, almond oil, or grapeseed oil)
- 1 tablespoon beeswax pellets (acts as an emulsifier)
- 1 teaspoon vitamin E oil (optional, helps preserve the lotion)
- A few drops of essential oil (optional for fragrance, use baby-safe ones like lavender)
Instructions:
- Melt the beeswax and oil
- In a double boiler (or a heatproof bowl over a pot of simmering water), melt the beeswax and carrier oil together. Stir until fully melted.
- Cool slightly & mix in breast milk
- Remove the mixture from heat and let it cool for a minute. Slowly add the breast milk while whisking continuously to combine the ingredients properly.
- Add vitamin E oil & essential oil
- Mix in the vitamin E oil and essential oil, stirring well to blend everything.
- Blend for a smooth texture
- Use a hand blender or whisk to emulsify the lotion and create a creamy consistency.
- Store in a sterile container
- Pour the lotion into a clean, airtight jar or container.
- Refrigerate & use within 2 weeks
- Since this is a natural lotion without preservatives, keep it in the fridge and use it within 1-2 weeks.
Ingredients
- ½ cup breast milk (fresh or thawed)
- ¼ cup coconut oil (unrefined, organic)
- 1 tablespoon beeswax pellets (for texture and stability)
- 1 teaspoon vitamin E oil (optional, extends shelf life)
- A few drops of lavender or chamomile essential oil (optional for fragrance)
Instructions
Step 1: Melt the Beeswax and Coconut Oil
- In a double boiler or heat-safe bowl over a pot of simmering water, melt the beeswax pellets and coconut oil together. Stir gently until fully combined.
Step 2: Cool Slightly & Add Breast Milk
- Remove from heat and allow the mixture to cool slightly.
- Slowly whisk in the breast milk while stirring continuously.
Step 3: Blend for a Smooth Texture
- Use an immersion blender or hand mixer to blend the mixture until it forms a creamy, lotion-like consistency.
Step 4: Add Vitamin E & Essential Oils (Optional)
- Stir in vitamin E oil to extend the shelf life.
- Add a few drops of lavender or chamomile essential oil for a light, soothing scent.
Step 5: Store in a Sterile Container
- Transfer the lotion into a clean glass jar or pump bottle.
- Store in the refrigerator for up to 2 weeks since it contains fresh breast milk.
Conclusion
The breast milk lotion recipe offers a natural and effective solution for anyone looking to nourish and care for their skin. With its powerful nutrients and healing properties, it’s an excellent alternative to commercial lotions. By following the simple steps outlined in this article, you can create a DIY lotion that not only saves you money but also provides your skin with the care it deserves.
Try this breast milk lotion recipe today, and experience the benefits of this all-natural skincare product for yourself!

Easy Breast Milk Lotion Recipe for Hydrated, Healthy Skin
Course: drinkCuisine: AmericanDifficulty: Easy4
servings10
minutes10
minutes500
kcalLearn how to make a nourishing breast milk lotion recipe to hydrate and heal your skin. Discover its benefits for a smooth, natural, and healthy complexion.
Ingredients
1 ½ cups all-purpose flour
2 tablespoons sugar
1 tablespoon baking powder
1/2 teaspoon salt
1 ¼ cups milk
1 large egg
2 tablespoons melted butter
1 teaspoon vanilla extract
Directions
- In a large bowl, whisk together the flour, sugar, baking powder, and salt.
- In a separate bowl, beat the milk, egg, melted butter, and vanilla extract together until well combined.
- Pour the wet ingredients into the dry ingredients and stir until just combined. Be careful not to overmix; it’s okay if there are a few lumps.
- Heat a non-stick skillet or griddle over medium heat and lightly grease with butter or cooking spray.
- Pour ¼ cup of batter onto the skillet for each pancake. Cook for 2-3 minutes, or until bubbles form on the surface and the edges start to look set.
- Flip the pancake and cook for an additional 1-2 minutes, or until golden brown and cooked through.
- Remove from the skillet and keep warm. Repeat with the remaining batter.
- Serve immediately with syrup, fresh fruit, or your favorite toppings.
Notes
- Storage: Leftover pancakes can be stored in an airtight container in the refrigerator for up to 3 days. Reheat in the microwave or on a skillet.
Make-Ahead: Prepare the pancake batter the night before and store it in the fridge for up to 24 hours. This can save time in the morning.
Flour Substitution: You can substitute whole wheat flour for all-purpose flour for a healthier option.
Dairy-Free Option: Use almond milk or oat milk instead of regular milk and replace the butter with a dairy-free alternative.
Toppings: Top your pancakes with fresh berries, whipped cream, or a drizzle of honey for extra flavor.


[…] Breast Milk Face Cream Recipe is easy and beneficial. It’s a great natural skincare solution. Try it […]